
Thank you for purchasing this Triebesigns 78.7" Double Table(HOGA-C0685). With a modern, minimalist design and sturdy construction, this desk is ideal for various settings, from home offices to collaborative spaces. This guide will walk you through every step of assembling your new table, ensuring the process is quick and easy.
Please read through all instructions carefully before starting. Ensure you have all parts and tools before you begin. Should you encounter any issues during the assembly process, refer to the troubleshooting section at the end of this guide.
Step 1: Verify the Parts
Before you begin assembly, ensure that all components are present. This will help you avoid unnecessary delays and ensure that the assembly process is as smooth as possible.
Double-check the parts listed in the “Parts Included” section.
If any parts are missing or damaged, please contact customer support immediately.
Board Components:
- 2x Board 1
- 2x Board 2
- 2x Board 3
- 2x Board 4
- 2x Board 5
- 2x Board 6
- 4x Board 7
- 4x Board 8
Hardware:
- 16x M5x50 screws (A)
- 20x M5x40 screws (B)
- 2x M5x60 screws (C)
- 8x Plastic Feet (D)
- 8x Cylinder Parts (E)
- 16x Cylinder Inserts (F)
- 1x Hex Key (G)
Make sure all parts are accounted for before beginning the assembly process.
Step 2: Preparing the Components
In this step, you'll begin by preparing the frame structure for the table. The components you need to focus on are:
Parts Required:
- Boards 5 and 6 (These will form the side panels of the table frame).
- Plastic Feet (E) (These will be attached to the bottom of the side panels for stability).
Attaching the Plastic Feet (E):
- Begin by attaching 8 plastic feet (E) to the bottom of Boards 5 and 6.
- Position the feet (E) at the marked spots at the base of each board. These will help to level the table and provide a sturdy base once the table is upright.
Step 3: Assembling the Frame
In this step, you will continue assembling the table’s frame by attaching the remaining parts and reinforcing the structure.
Parts Required:
- Board 8 (Horizontal connecting bars).
- M5x50 screws (A) (To secure the connections).
Instructions:
- Attaching the Horizontal Bars:
- You will now attach Board 8 horizontally between the sides formed by Boards 6 and 6.
- Boards 8 should be positioned at the indicated points in the diagram, as these will act as reinforcements to the overall frame.
- Use the M5x50 screws (A) to connect Board 8 to the vertical frame .
- Tighten the screws at all marked positions to ensure a secure connection.
At the end of Step 3, your table frame should look like the structure shown in the image: a rectangular frame with Boards 8 attached horizontally across the two vertical side panels (Boards 6 and 6).

Step 4: Attaching Board 2 and Board 3
In this step, you're going to attach Board 2 and Board 3 to each other using the M5x60 screws (C). This part helps form the structure that will hold the table's sides.
Instructions:
- Place Board 2 and Board 3 side by side. These are horizontal panels that will be connected together to form part of the support structure.
- Use 2 pieces of M5x60 screws (C) to connect Board 2 to Board 3.
- Insert the screws through the pre-drilled holes at the marked positions, ensuring the boards are aligned correctly.
- Tighten the screws securely.
This step is repeated twice, as is the installation of the shelf on the other side of this double table, which will then be directly attached to the support.

Step 5: Attaching the Horizontal Supports (Board 7) and Connecting to the Frame
In Step 5, you are going to add the horizontal support beams (Board 7) to the assembled frame and attach them securely to complete part of the structure.
- Board 7 will be positioned across the frame you previously assembled, providing additional horizontal support.
- Board 7 should be placed horizontally between the existing vertical structures formed by Boards 5 and 6 (the side frames) and the connected Board 2 and 3 structure.
- Use 4 pieces of M5x50 screws (A) to attach Board 7 to the vertical frame.
- Insert the screws through the marked holes at the indicated locations, ensuring that Board 7 is tightly secured.
- Use 8 pieces of M5x40 screws (F) to attach Board 5 to the lower part of the frame.
- Secure these screws at all indicated points, as shown in the diagram.
Step 6: Assembling the Structure
Step 6 is very similar to the previous step.
Instructions:
- Board 7 should be placed horizontally across the already assembled frame, between the vertical structures formed by Board 5 and Board 6.
- The diagram shows Board 7 as the horizontal reinforcement that connects these two vertical parts of the frame.
- Use 4 pieces of M5x50 screws (A) to attach Board 7 to the frame.
- Insert the screws at the marked positions, ensuring Board 7 is securely attached to the vertical frame.
- Board 3 is now going to be added to the assembly.
- Use 8 pieces of M5x40 screws (F) to connect Board 3 to the frame at the indicated points.
- Make sure to tighten all screws to ensure a sturdy connection.
- The diagram shows Board 5 being secured to the assembly with 8 pieces of M5x40 screws (D).
- Use these screws to ensure Board 5 is tightly affixed.
- At the end of Step 5, your table frame should be firmly built with Board 7 providing horizontal support and Board 3 adding extra structural stability.
Step 7: Completing the Frame Structure
- Board 4 is now added to the assembly.
- Position Board 4 horizontally between the frame structure as shown in the diagram.
- Securing Board 4 with Screws (B):
- Use 8 pieces of M5x40 screws (B) to secure Board 4 to the frame.
- Insert the screws at the marked positions and tighten them properly.
At the end of Step 7, you will have the complete frame, with all boards securely connected and the structure ready to support the tabletop.

Step 8: Attaching the Tabletop
- Position Board 1 on top of the assembled frame.
- Line up the holes carefully with the pre-drilled holes on the frame.
- Use M5x40 screws (B) to secure the tabletop to the frame. Insert screws at all the indicated points.
- Check that the tabletop is aligned and centered before tightening the screws fully. Make any adjustments if needed.
Step 9: Final Assembly and Adjustments
- Once the tabletop is securely attached, ensure all screws are tightened and the structure is stable.
- Inspect the table for any loose parts and double-check the alignment of the boards.
- Adjust the plastic feet (E) as needed to ensure the table sits evenly on the floor.
- Final Inspection: Before using the table, make sure all screws are fully tightened and that the table is stable.

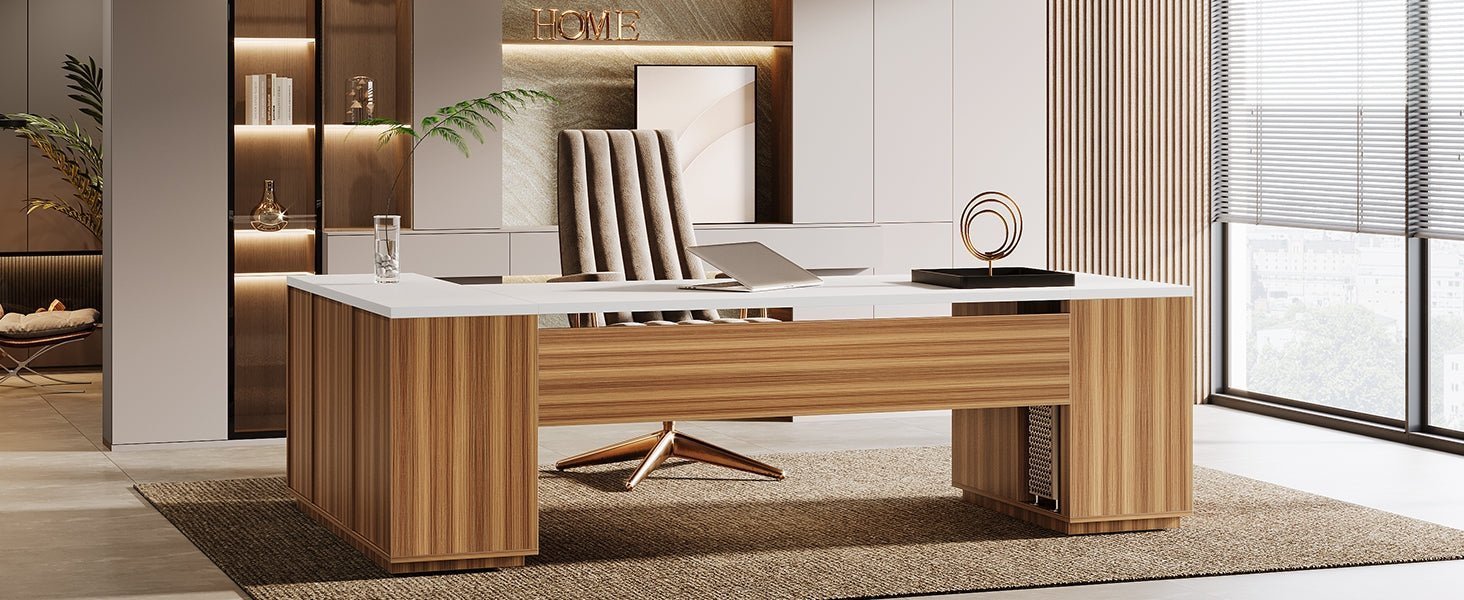
78.7" Two Person Desk with Bookshelf Key Features
This 78.74"L x 23.62"W double desk features a retro wood finish and an industrial-style metal frame, creating a timeless aesthetic that adds charm and sophistication to your workspace, transitioning from modern to industrial. It comfortably accommodates two people working side-by-side without taking up too much space.

Built-in shelves and a lower bookshelf provide ample storage for books, office supplies, and personal items, keeping your workspace tidy and organized.
This double workstation can support up to 550 lbs (approximately 250 kg), more than enough for your everyday office needs.
Take advantage of our Black Friday deals and purchase this amazing double workstation at special discounted prices:
- 18% off orders over $149 with code BF18.
- 20% off orders over $199 with code BF20.
- 22% off orders over $299 with code BF22.
Hurry! This promotion runs from November 14th to November 28th. This Triebesigns double workstation perfectly blends functionality, durability, and style, making it ideal for any modern workspace. Don't miss our Black Friday sale and save big!