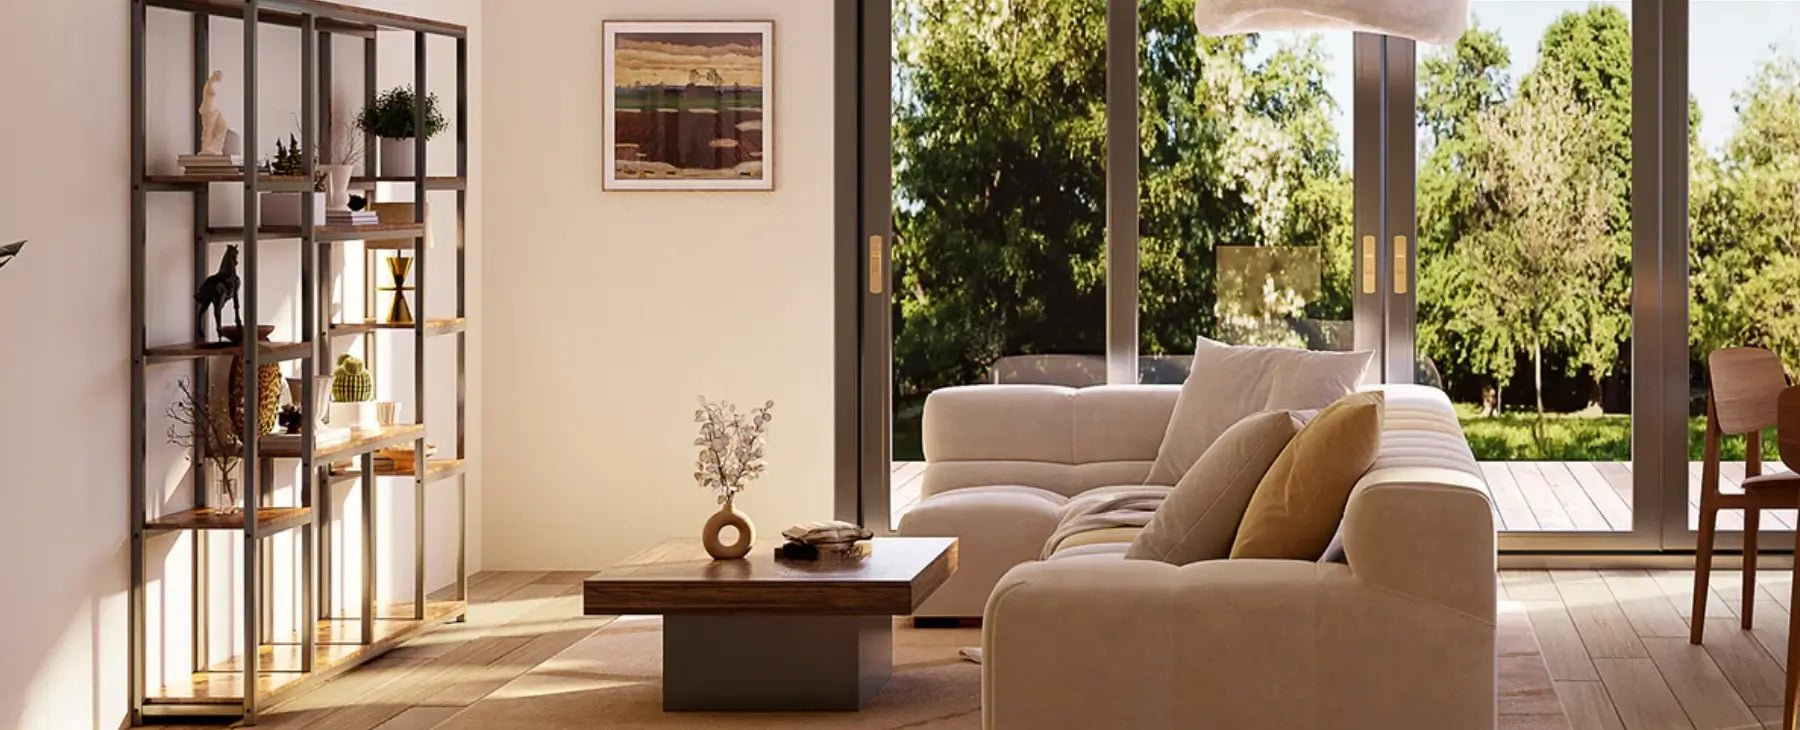






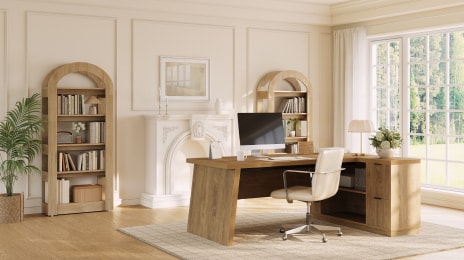




Let’s be real—styling a bookshelf shouldn’t feel like rocket science. You want it to look pulled-together (not like a toddler’s art project), but who has time for fussy rules? These no-fail formulas are stupid simple: just grab what you’ve got, follow the steps, and bam—shelfie-worthy results.
Table of Contents
Step 1: Start With the Biggest Items First
Start by placing the biggest pieces first, because they set the structure for everything else. A bookshelf looks styled when it has a few strong “anchors”—a tall vase, a framed photo, a storage basket, or a stack of oversized books—before you add smaller accents. Put heavier-looking anchors lower and lighter ones higher, and avoid repeating the same placement on every shelf so it doesn’t feel rigid. Once the large items are in, step back: you should see clear shape and breathing room. If it already feels full, remove one anchor—then build around the open space, not against it.

Step 2: Layer Art + Objects
Picture this: you’ve got a framed print that’s too small to hang alone, or maybe a child’s artwork you’d love to display without committing to wall damage. This is where leaning saves the day. Prop the frame against the back of your shelf at a slight angle—not quite vertical, not quite flat. Instantly, you’ve added height and personality.
Now for the layering. In front of your art, place one or two modestly sized objects with contrasting shapes. A low, round wooden bowl filled with smooth river rocks creates organic texture against the rigid frame. A petite potted succulent in a matte ceramic planter adds life without overwhelming. The trick? Leave breathing room. About 30% of the shelf surface should stay empty; negative space keeps things feeling curated rather than chaotic.
And here’s a pro insight: mix your frame orientations. A vertical 8x10” family photo beside a horizontal 5x7” sketch creates natural movement for the eye. It’s these subtle contrasts that make shelves feel dynamic yet harmonious.

Step 3: Curated Collections
There’s a reason why high-end boutiques and art galleries group objects together—it just works. A well-edited collection turns random trinkets into intentional decor. Start by gathering 3-5 pieces with different shapes and heights—maybe a chunky ceramic vase, a short stack of vintage books, and a round woven tray. The contrast keeps things interesting, but here’s the real secret: stick to a tight color story. If your vase is muted sage green, pull in a faded olive-toned book and a cream-colored tray.
And don’t overthink what counts as a "collection." Those seashells from your last beach trip? Arrange them in a shallow dish beside a small framed coastal photo. Antique teacups gathering dust? Line up two with a small hardback book in between. The best collections tell a story—your story—without saying a word.

Step 4: Mix Vertical + Horizontal Books
If you’ve ever struggled with books toppling over or looking messy, this one’s for you. Instead of stacking, try lining them up vertically—like a little literary army—and anchor them with something sturdy on either end. Traditional bookends work, but if you don’t have any, get creative. Heavy book-shaped decor weights (yes, those exist), a pair of smooth river rocks, or even two small potted plants can do the trick.
For extra polish, alternate dark and light book spines as you go. A deep navy binding next to a soft gray one creates a subtle rhythm that feels designer-approved. And here’s a California-cool tip: Use this trick in high-traffic spots like the living room or kitchen. Those cookbooks that are always getting pulled out? Now they stay neat, and the bookends add a sculptural touch.

Step 5: Add Texture
The easiest way to make a bookshelf look “designer” is to mix finishes, not add more stuff. Aim for 2–3 textures per shelf.
- Wood: a small tray, box, or carved object to add warmth
- Ceramic: a vase or bowl for a soft, matte contrast
- Glass/metal: one reflective piece (glass vase, brass bookends) to catch light
- Greenery: a small plant or trailing vine to soften hard lines
Quick formula: matte + natural + reflective + a touch of green. Keep colors simple if your book spines are already busy.
Step 6: Don’t Overcrowd the Shelves
This is where the shelf starts to look intentional. You want it to feel open and breathable.
- Leave 20–30% “negative space” on each shelf
- Keep one hero item per shelf (everything else supports it)
- Cap it at 5–9 items per shelf (books + decor included)
- Remove the small, fussy pieces first—they’re what create visual clutter
- Step back 6 feet: if your eye doesn’t know where to land, take one item away
What to Put on a Bookshelf (Must-Have Item List)?
Use this simple mix: books + one statement + one “softener” + one storage piece. 60% books + 30% decor + 10% storage/personal
- Books (base layer): mix upright rows + 1–2 horizontal stacks.
- Bookends (structure): one set to clean up a shelf instantly.
- Statement piece (1 per shelf): large vase / sculpture / bowl—go bigger, not more.
- Art or frame (height): lean a frame behind smaller items for depth.
- Storage (hide clutter): basket/box for cords, remotes, paperwork.
- Greenery (life): small plant or trailing vine to soften lines.
- Personal touch (meaning): photo or keepsake—keep it minimal.
- Reflective accent (polish): one glass/metal piece to catch light.
Conclusion
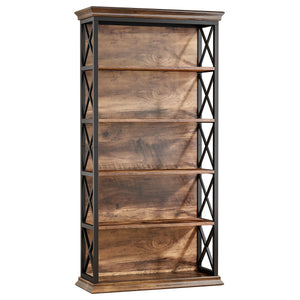
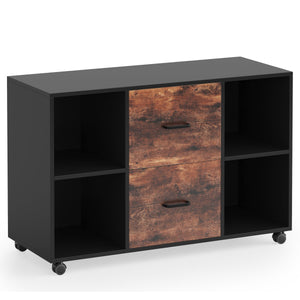
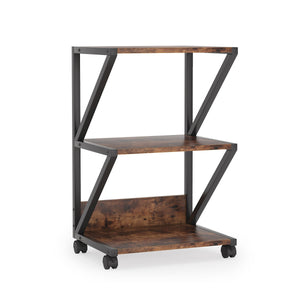
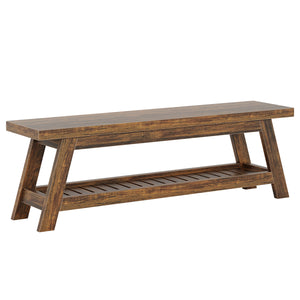
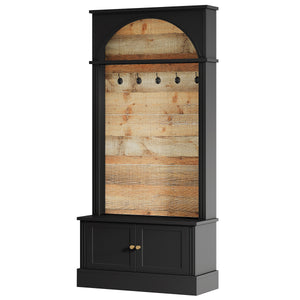
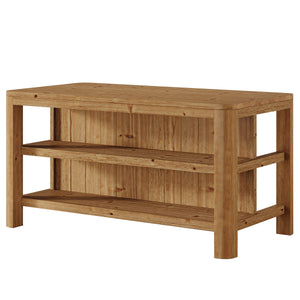
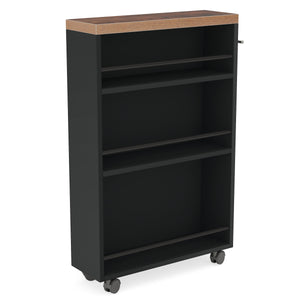
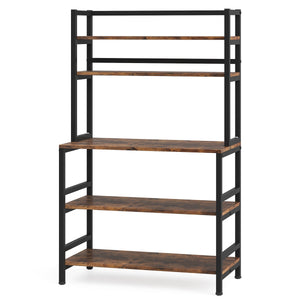
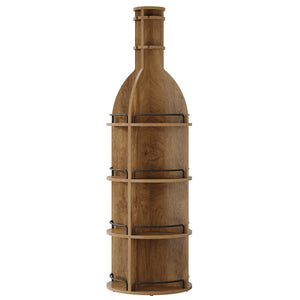
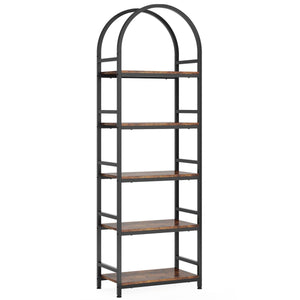
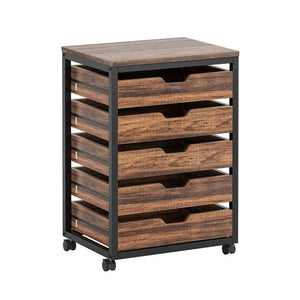
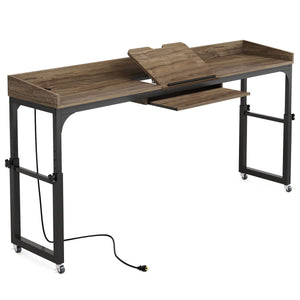
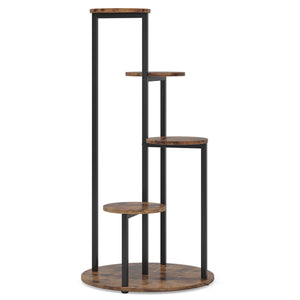
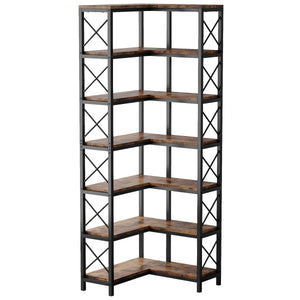
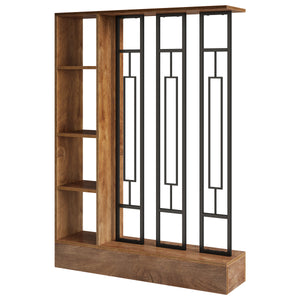
The best bookshelves need to breathe. If you find that every layer is stuffed to the brim, it may be time to consider upgrading your storage solution. A simple high-rise bookshelf can not only solve the storage problem, but also become a style statement in the space - whether it is warm original wood material, modern minimalist lines, or space-saving corner design. Choose a style that coordinates with existing furniture so that books and decorations can be presented elegantly.
Tribesigns offers bookshelves in original wood style, farmhouse style, and minimalist style. There are corner bookshelves and multi-layer bookshelves to choose from. There is always one that you will like.