
Yes, Tribesigns console tables are designed to be both durable and easy to assemble. They are constructed with high-quality materials, ensuring long-lasting strength and stability. The tables feature sturdy frames and thick boards, providing excellent support and resistance to wear and tear. Additionally, the assembly process is straightforward, with clear instructions and all necessary hardware included, making it easy for customers to put together without hassle. As a retailer, we prioritize customer satisfaction, and these tables are crafted to meet both aesthetic and functional needs.

Durability
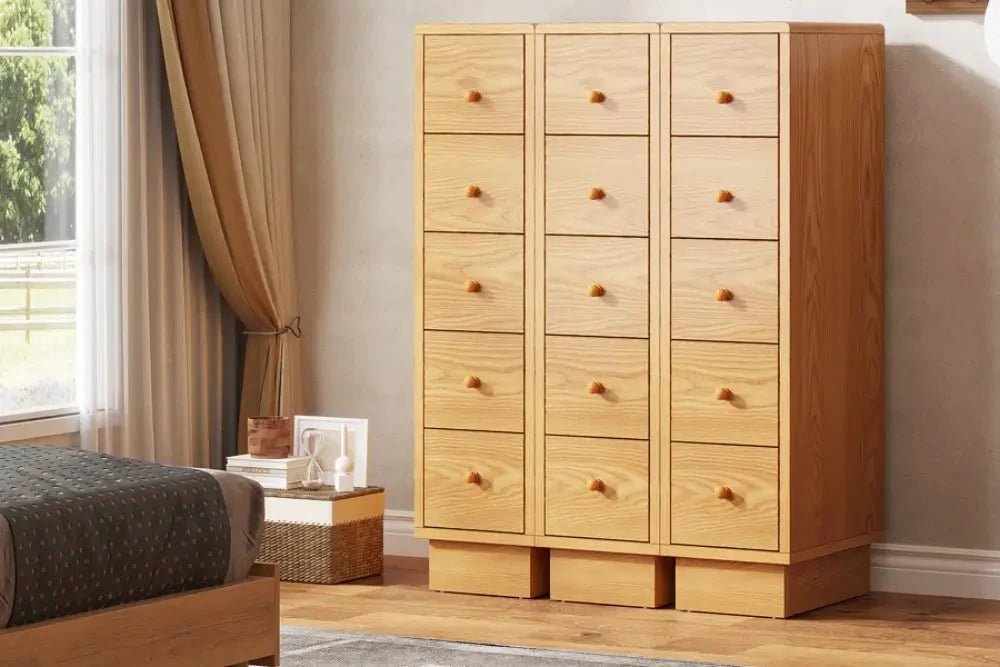
- Sturdy construction: Many Tribesigns console tables feature a combination of high-grade MDF (medium-density fiberboard) and metal frames for a stable, long-lasting structure. Some models also use thickened particle board for enhanced stability and strength.
- Adjustable footpads: Adjustable pads are often included to keep the table stable on uneven floors and protect the flooring from scratches.
- Mixed quality reviews: While some customers praise the "heavy-duty" and "sturdy" feel of the tables, others have complained about the overall cheapness of the materials, with one customer on Reddit claiming the product looks cheap and is poorly finished.
- Material variation: Some models use different materials. For example, a gold console table features faux marble and metal legs, which reviewers cite as durable.
How to Assemble Console Tables?
At Tribesigns, we understand that a seamless assembly process is just as important as the quality of the furniture itself. That's why every product we offer comes with a clear and easy-to-follow image-based assembly PDF guide to help you set up your furniture with ease. We believe in providing all the tools necessary to make assembly as simple as possible, ensuring that you can enjoy your new piece without frustration.
To give you an example, let’s walk through the assembly process for one of our popular models—the Farmhouse Console Table, 55" Sofa Table with Storage. This example will demonstrate the step-by-step process, showing how the images in our manual guide you through the entire setup.

Preparation
Before you begin, check all parts and hardware on a carpet or soft mat. Do not pre-tighten any screws; simply tighten them by hand until they are secure. Once the overall structure is stable, tighten all screws together. If using an electric screwdriver, be sure to set it to the lowest torque setting.
Below is a summary of the components listed:
- Part 1: A long rectangular panel, 1 piece.
- Part 2: A slightly smaller rectangular panel, 1 piece.
- Part 3: Two elongated panels, 2 pieces.
- Part 4: 2 smaller rectangular panels labeled "268", 2 pieces.
- Part 5: Two narrower panels, 2 pieces.
- Part 6: Two medium-sized rectangular panels labeled "641", 2 pieces.
- Part 7: Two angled panels labeled "636.3", 2 pieces.
- Part 8: Two longer, rectangular panels labeled "238", 2 pieces.
These parts are essential for assembling the item, so verifying you have all of them before starting is crucial.
Hardware List
- A: 42 screws, M6x40 size.
- B: 8 screws, M8x35 size.
- C: 12 screws, M6x20 size.
- D: 8 screws, ST7x50 size.
- E: 8 cams (a type of fastener).
- F: 2 sets of pins and related tools.
Assembly Instructions for Cams and Pins
Step 1: Insert the pin into the designated hole.
Step 2: Position the cam correctly, ensuring that the arrow on the cam is opening toward the hole it will lock into.
Step 3: Tighten the cam by turning it with a screwdriver until it locks into place.
Step 4: Finalize by securely locking the cam.
These cams and pins are crucial for joining parts during assembly and ensure the parts are securely fastened.
Step-by-Step Guide
Step 1: Part 1 (a long rectangular panel).
Attach 10 M6*40 screws (labeled as "A") into the holes of the long rectangular panel. This step sets up the panel for further assembly and involves securing screws into pre-drilled holes.
Note: The diagram shows the placement of the screws at the designated positions, ensuring they are fixed but not tightened fully yet.
Step 2: Part 3 (two elongated panels).
Attach the same M6*40 screws (labeled "A") into the two elongated panels (part 3). The diagram marks where each screw goes, ensuring alignment between the panels. You will insert 8 screws here.
Note: Follow the screw placement closely to avoid mistakes.
Step 3: Part 5 (two narrower panels).
Insert the M6*40 screws (labeled "A") into part 5 (two smaller panels), securing them similarly to the previous steps.
Note: Align the parts precisely as indicated in the diagram, and ensure the screws are not overtightened.
Step 4: Part 7 (two large rectangular panels).
Insert 8 M8*35 screws (labeled "B") into part 7. These screws are slightly larger and will join part 7 with another panel.
Note: Be cautious about the screw placement and ensure the screws are securely inserted.

Step 5:
Parts 6 and 7 (two rectangular panels and part 5).
The assembly requires connecting part 7 to part 5 using screws (A). The diagram shows how the parts should align, and it’s essential to note that part 7 should be oriented with its beveled side facing outward as indicated by the text "Notice is bevel this side."
Note: The bevel is important for proper alignment, and the screws should go into the designated holes without forcing them.
Step 6:
Parts Involved: Part 6 (another rectangular panel).
Secure part 6 to part 5 with more M6*40 screws (labeled "A"). The diagram illustrates the assembly clearly, with each screw labeled for easy identification.
Note: As always, tighten the screws progressively and verify part alignment to avoid misalignment.
Step 7:
Parts Involved: Part 7 (a long panel) and screws (C).
Attach part 7 to the larger base frame using M6*20 screws (labeled "C"). In this step, you will use 6 screws to secure part 7 to the larger assembly.
Note: Check that the screws are placed in the right positions and use the correct number of screws.
Step 8:
Parts Involved: Part 7, Part 4 (a smaller panel), and screws (A).
Attach part 7 to part 4, using 4 M6*40 screws (labeled "A"). You’ll be securing the parts at designated locations, again making sure that the screws are not overtightened in this step.
Note: Ensure the parts are aligned correctly before fully tightening the screws.
These steps progressively build the assembly, with each part being attached to the base structure. Each screw size and type is clearly labeled, and it is important to follow the screw placements closely to prevent any misalignment.

Step 9:
Parts 3 and 4 (two panels) and screws (A and C).
Attach parts 3 and 4 using screws (labeled "A" for M6x40) and smaller M6x20 screws (labeled "C").
The M6x20 screws should be used for securing the parts in their alignment.
Step 10:
Part 1 (long panel) and screws (A).
Using screws labeled "A" (M6x40), attach part 1 to the assembly.
Ensure the parts are aligned properly before final tightening.
Step 11:
Parts 2 and D (ST7*50 screws).
Use the ST7*50 screws (labeled "D") to secure part 2 to the assembly.
Attach the screws into pre-marked holes and make sure the parts are connected at the correct positions.
Step 12:
Part 2 and screws (A).
Use M6x40 screws (labeled "A") to further secure part 2 into the structure.
These screws will connect part 2 to adjacent parts, ensuring a firm structure.
Note: Follow the diagram carefully to make sure the screws go into the correct locations.

Step 13:
Parts Involved: Part 9 (long panel) and screws (A).
Insert M6x40 screws (labeled "A") into part 9. Attach the screws at the designated spots on the panel to secure it in place.
Note:
Double-check the alignment of part 9 before tightening the screws.
Step 14:
Parts Involved: Parts 9 and 10, screws (A).
Use M6x40 screws (labeled "A") to secure parts 9 and 10 together. This will connect the two pieces firmly.
Note: Ensure the parts are positioned as shown in the diagram for a secure fit.
Step 15:
Parts Involved: Parts 9 and 10, screws (A).
Tighten M6x40 screws (labeled "A") into part 9 to ensure the correct attachment of part 10.
Note: Check for any misalignment before fully tightening.
Step 16:
Parts Involved: Parts 9 and 10, screws (A) and hardware (E).
Attach additional screws and hardware (labeled "E") to finalize securing parts 9 and 10 together.
Ensure that the hardware is properly locked into place as indicated in the diagram.
Note: Pay attention to the detailed placement of each screw and hardware component.
Step 17:
Parts Involved: Part 10, screws (F).
Secure part 10 using screws labeled "F" to finalize its attachment.
Note: Check that all parts are securely connected.

Step 18:
Use the screws marked "F" to secure Part 10, ensuring the anti-tipping device is correctly positioned.
The screws will be installed in the designated areas, ensuring the anti-tipping device is firmly attached to the furniture.
Install the anti-tipping device components (marked "F") in the appropriate positions.
Use the anti-tipping device (marked "F") to connect the furniture to the wall, ensuring the furniture will not tilt forward or to the side.
The screws and brackets will firmly secure the anti-tipping device to the wall, enhancing the stability of the furniture.

What is Tribesigns?
Tribesigns is a popular online furniture brand that specializes in stylish, modern, and functional pieces at affordable price points. Since its inception, Tribesigns has carved out a niche in the world of contemporary furniture, offering a wide range of items for different spaces in the home. Among their most sought-after products are their console tables, which come in various sizes and designs, including both sleek modern styles and rustic farmhouse-inspired options.
The brand’s focus on creating furniture that balances aesthetic appeal and practical functionality has earned it a loyal following. Tribesigns uses materials like MDF, particle board, and metal frames in its console tables, aiming to offer customers a durable product without the hefty price tag typically associated with high-end furniture.
What sets Tribesigns apart is its ability to deliver affordable and easy-to-assemble furniture, making it a popular choice for those who want stylish pieces without the need for professional installation. Whether you're furnishing a cozy apartment or updating the decor in your home, Tribesigns’ pieces often hit the sweet spot of quality and price.
Read more: console table tagged, sofa table tagged